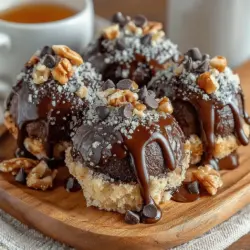
No-Bake Brownie Batter Truffles
Discover the joy of making Chocolate Bliss No-Bake Brownie Batter Truffles, the perfect treat for chocolate lovers! These indulgent truffles are simple to prepare and require no baking, making them a hassle-free dessert option. With rich chocolate flavor from cocoa powder and the creamy texture from nut butter, they cater to various dietary preferences. Customize with your favorite add-ins and enjoy these delightful bites anytime, whether for yourself or sharing with friends.